Creating a localhost in Windows (Part 3: Installing MySQL 5)
In part two, we installed almightly PHP language onto our localhost, with that you can now run php scripts and code offline on your localhost, but for example what if you want to test a script that needs a database your basically stuck aren’t you? Well to handle databases there’s something called MySQL, this is simple a relation database management system and is present on most web-servers avaliable today. MySQL allows you to create and modify (To a certain extent) databases on a server, and lucky you, it can be installed on a localhost! We will be installing the MySQL service and getting it to run with your localhost.
Before we dive in, make sure you have read part one and two of this tutorial series, you will need to have done everything in both of these parts for you to be able to install MySQL properly.
Step 1: Get the MySQL 5 files
If you found installing the PHP binaries hard in part two, then your saving grace is that MySQL comes in a msi installer. So you will only have to click buttons and you’ll get it installed. But your not totally off the hook! You will have to edit your newly established PHP configuration to get MySQL and PHP to work hand in hand on your localhost, but lets concerntrate on the task at hand! Start by downloading the MySQL 5.1 files by clicking the link below:
Click here to download the MySQL 5 files
You should download the Windows essentials MSI and nothing else.
(Depending on where you are in the world you will have to pick the download mirror yourself)
Step 2: Running the MSI Installer
When you’ve downloaded the installer, simply find the location you saved it too and run the MSI. There will be quite alot of steps so follow this guide below:
Note: Newer versions of MySQL do not the exact same installation process show below, however the change is minimal. You may find with newer versions, MySQL will install without asking you about any configuration, but once the installer has finished installing you should be asked if you want to configure your MySQL, you will then get the chance to configure MySQL using the steps below.
* Typical Setup
* Skip Sign-Up (Don't worry it's not a trial version or anything)
* Make sure Configure the MySQL Server now is checked
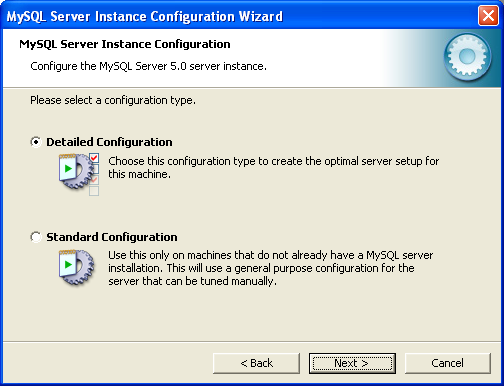
* Detailed Configuration
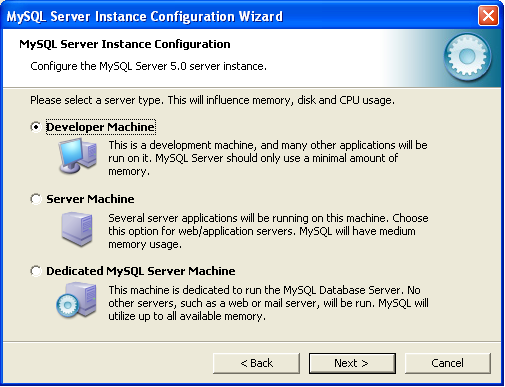
* Developer Machine (If you going to be using your localhost to test scripts etc)
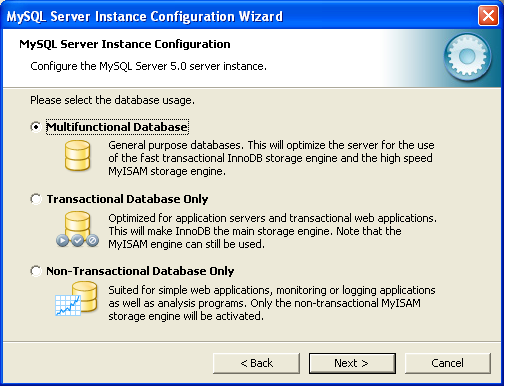
* Multifunctional Database
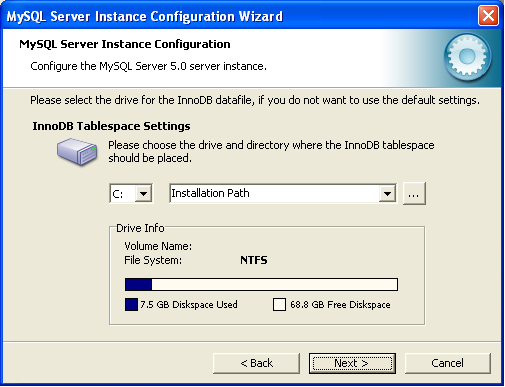
* nnoDB Tablespace Settings - leave everything as it is
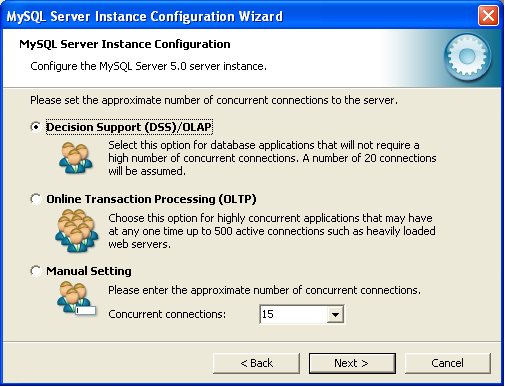
* Decision Support (DSS)/OLAP
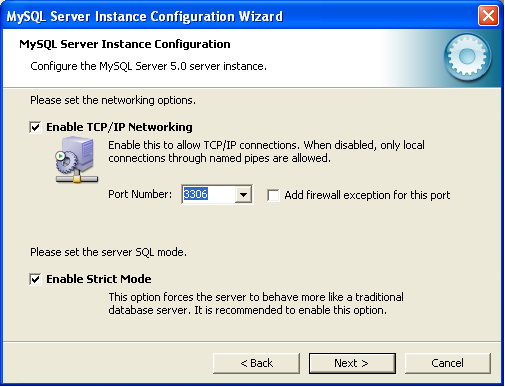
* Make sure Enable TCP/IP Networking is checked and leave the port number at 3306 (at this point, if you have a firewall, it will usually try to access itself on the localhost)
* Standard Character Set
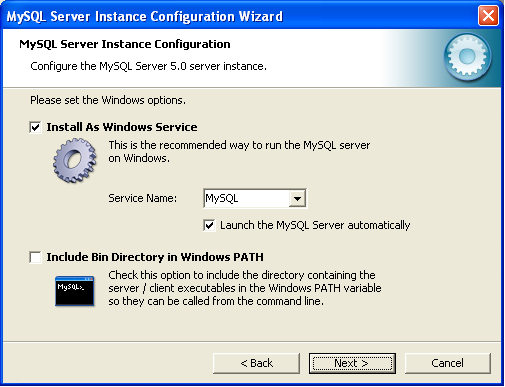
* Check Install As Windows Service (Will make it much easier to control)
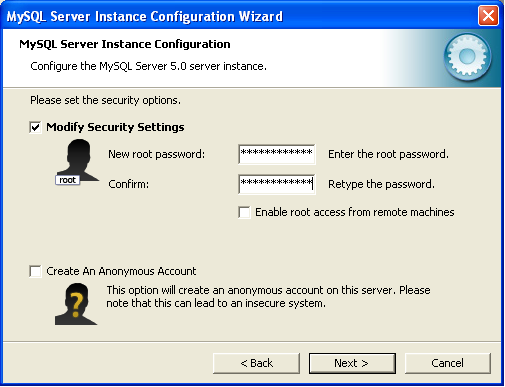
* Enter your root password (Suggestion would be not to use a password that you use regularly) and I would also recommend leaving Enable root access from remote machines unchecked (Security reasons basically)
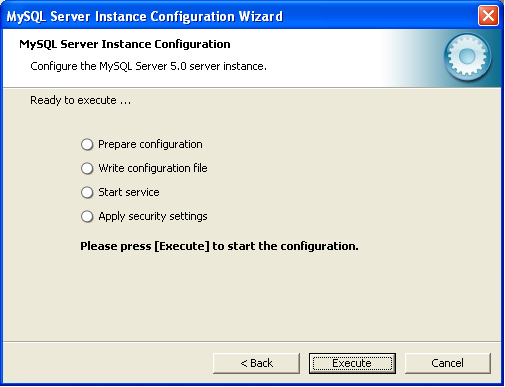
* Then hit execute and it'll install and set it up.

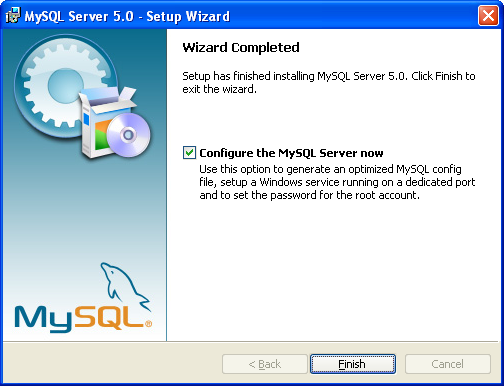

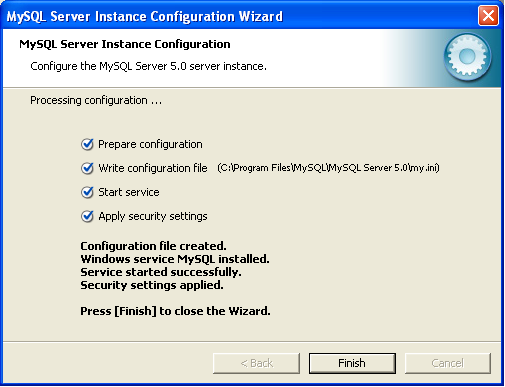
Congratulations you have now installed MySQL 5, but it’s not fully set up on your localhost yet, continue to step 3!
Step 3: Setting up MySQL to work with PHP
Now that the MySQL service is installed on your machine you know need to get MySQL working with the actual configuration of your localhost to be more precise your PHP configuration. You will first need to open up where you installed your PHP binaries to, my location was C:localhostphp but yours could be different. However way you saved it you will need to find this file libmysql.dll and COPY it to your system folder. In my case this is C:/Windows/System32 however on older versions of Windows (Other then XP) it may be C:/WinNT/System or another variation of that. Once you find your system folder you will need to copy that file into it. Just paste it in, and your done.
Now you will need to edit your php.ini file which is your php configuration located in the place where you installed PHP 5. Open that up with any text editor and you will need to locate the place in the config where something called extensions are listed, locate this extension:
;extension=php_mysql.dll
Remove the ; and save the configuration changes, remove the ; simply activates the extension.
You will now need to restart Apache. Once you’ve restarted Apache test out your Apache HTTPD config, if you get no errors then the command prompt window will instantly disappearing and you can safely say MySQL is running correctly, if you get the command prompt window staying on the screen with errors about php_mysql.dll then there is a problem locating the file.
Step 4: Testing MySQL and connection to a Database
We finally need to check if MySQL can connect to the primary database. Basically MySQL itself.
<?php
// Your testing this on a localhost, so localhost is the server name
$dbServer='localhost';

// username and password to log onto db server. If you used the default then root is the username, you may have chosen to set a password, if you did. Enter it in the dbPass section
$dbUser='root';
$dbPass='';

// name of database
$dbName='test';

    $link = mysql_connect("$dbServer", "$dbUser", "$dbPass") or die("Sorry I could not connect to the database");
    print "I was able to connect to the database<br/>";
    mysql_select_db("$dbName") or die("I could not find the specified database");
    print "I selected the database successfully<br/>";

// close connection
mysql_close($link);
?>
Save it as something like database_connect.php and save it to your localhost. Then access it in a browser. If MySQL is working correctly you should get:
I was able to connect to the database

I selected the database successfully
Congratulations you have now set up MySQL 5 on your localhost, you can now create databases on your localhost. Now modifying databases can be tricky, but there is a tool called PHPMyAdmin which can manage all your MySQL databases in a nice admin panel. I think you can see what part four will be about! Yeah you guessed it, installing PHPMyAdmin on your localhost!
