Creating a localhost in Windows (Part 4: Installing phpMyAdmin)
Your Localhost is very nearly complete, we’ve installed Apache, PHP 5 and MySQL 5. I breifly talked about the ability to modify and change MySQL databases. Well phpMyAdmin can do just that, this tool allows you to do this, it helps you manage your MySQL database in a nicely presented admin panel which you can easily change tables, prefixes and much more. This tool is a must if you plan on creating databases on your localhost
Before we begin make sure you have read part one, two and three of the Creating a localhost in Windows series.
Step 1: Downloading phpMyAdmin
First off all your going to need to the phpMyAdmin files you can get them from the official PHPMyAdmin website but to save you time, here’s the direct link to a download mirror:
Click to download PHPMyAdmin
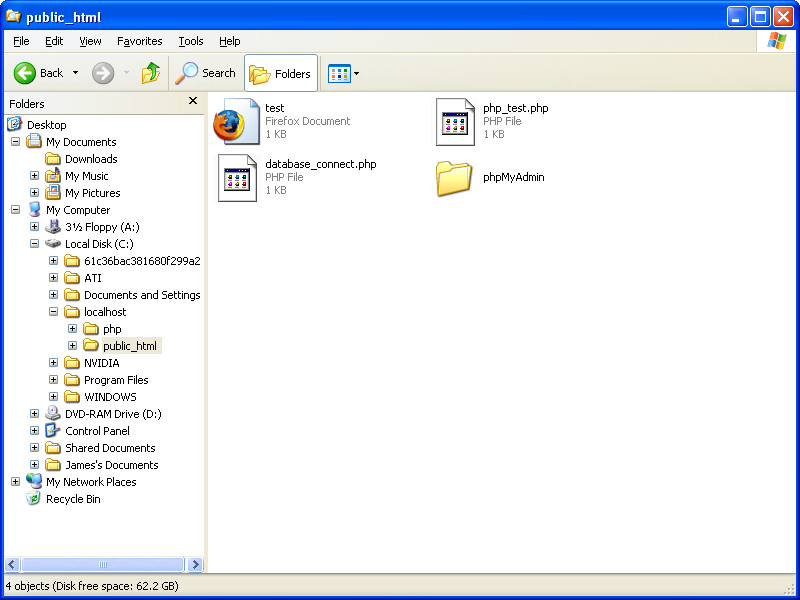
Once you have downloaded the files make a new folder called phpMyAdmin in your DocumentRoot. Remember your DocumentRoot is where Apache will look for files on your localhost. We specified this in part one mine was C:/localhost/public_html, what ever your is create a folder called phpMyadmin within in it and extract all the files to that folder.
You should now have a folder sitting within your public_html called phpMyAdmin looking like this:
Step 2: Config.inc.php file
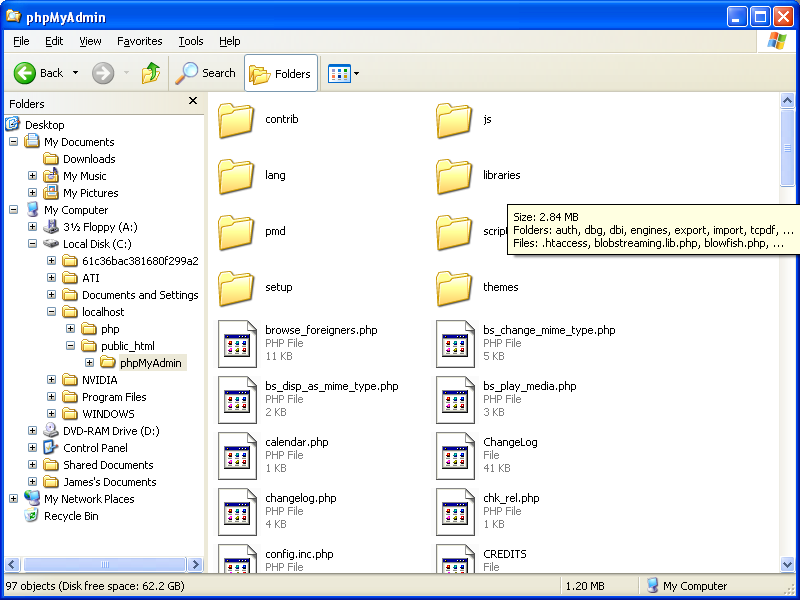
Now that you’ve placed phpMyAdmin on your localhost you will now need to open it up and find a file called config.sample.inc.php this has all the configuration code needed so you can simply copy it and rename it or simply rename the sample file, I’d copy it so you have a basic template incase everything goes wrong! Rename to Config.inc.php.
There are a few lines in the config but the main ones we need to focus on are:
$cfg['blowfish_secret'] = ''; /* Secret word or phrase for authorization with cookies. This is not your password */
$cfg['Servers'][$i]['host'] = 'localhost'; /* Host is localhost */
$cfg['Servers'][$i]['controluser']  = 'root'; /* Main MySQL Database user is root*/
$cfg['Servers'][$i]['controlpass'] = 'mypass'; /* Password to MySQL */
Blowfist secret: Is simply a keyword or phrase you add in to authenticate sessions, put in anything you like
Host: Where your host is located, and seems we’re setting up a localhost, the host is localhost!
Control User: 100% that control user is root
Control Pass: When you set up MySQL during the various setup screens if you inputted a password you must place it in
If you didn’t have some of those lines in your config add them in, otherwise just modify the current ones. Now you have nearly set up phpMyAdmin
Step 3: Solving a few errors when you first access phpMyAdmin
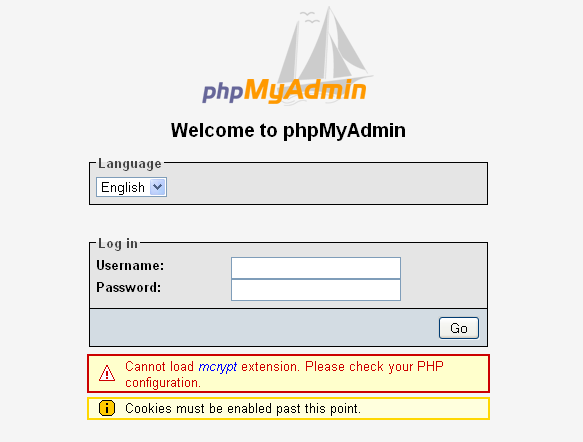
When you first access phpMyAdmin (For me it’s http://localhost/phpMyAdmin) I was presented with a issue:
And then when I logged in to phpMyAdmin I got a few more:
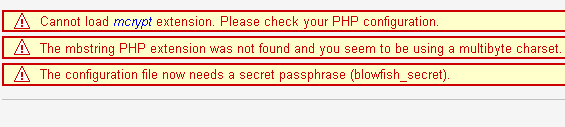
**Note error 3 blowfish_secret only appears if you didn’t add one in on your config.inc.php, just add a word or phrase in to get rid off the error.
To solve the mcrypt error:
A error is occuring with the mcrpy extension as it is not enabled by default, hence why it’s giving out the error of can not load. To solve this you will need to edit your PHP config file and go to line 624, you should see this:
;extension=php_mcrypt.dll
Remove the ; and save the config changes. You will then need find the file libmcrypt.dll in your php directory. It is located in the root of your php folder. Copy it over to C:/Windows/System32. You will need to restart Apache for the extension to be loaded (Doing this you may also be logged out of phpMyAdmin and required to login again)
Now the extension is being loaded and the error should of disappeared!
To solve the mbstring error:
There is also an error about a file called mbstring.dll is missing, this is half true, it isn’t loaded because it’s not in the right place but you do have it. If you open your PHP directory and look the ext folder you should see the file php_mbstring.dll
Open your PHP config, go to line 623 you should see this:
;extension=php_mbstring.dll
Remove the ; and save the configuration. Now open your PHP directory and look in the ext folder for the file php_mbstring.dll copy this over to your C:/Windows/System32 folder. You will then need to restart Apache for the extension to be loaded. Log back into phpMyAdmin and all of your errors should of disappeared.
Congratulations! You have set up phpMyAdmin on your localhost, you can now create, modify and delete any MySQL databases, you now have full control over them! To test out MySQL and phpMyAdmin why not installed a script that requires a database to functions and see how it goes! Well thats it for the Creating a Localhost in Windows series, a total of four parts and over 3000 words of explaination written, I hope it helps you set up your onw localhost! If you have any problems or issues feel free to contact me at the usual address!
